Auto (prestige) roles
This guide will teach you how to use the auto_roles and the auto_prestige_roles commands.
These commands are used to have DuckHunt give roles to users upon reaching a specific level or prestige level in the game.
Permissions
First off, for the bot to add roles, you'll need to add the MANAGE_ROLES permission to DuckHunt.
For that, go into your server settings, and select the DuckHunt role, the permissions tab, and make sure MANAGE_ROLES is on.
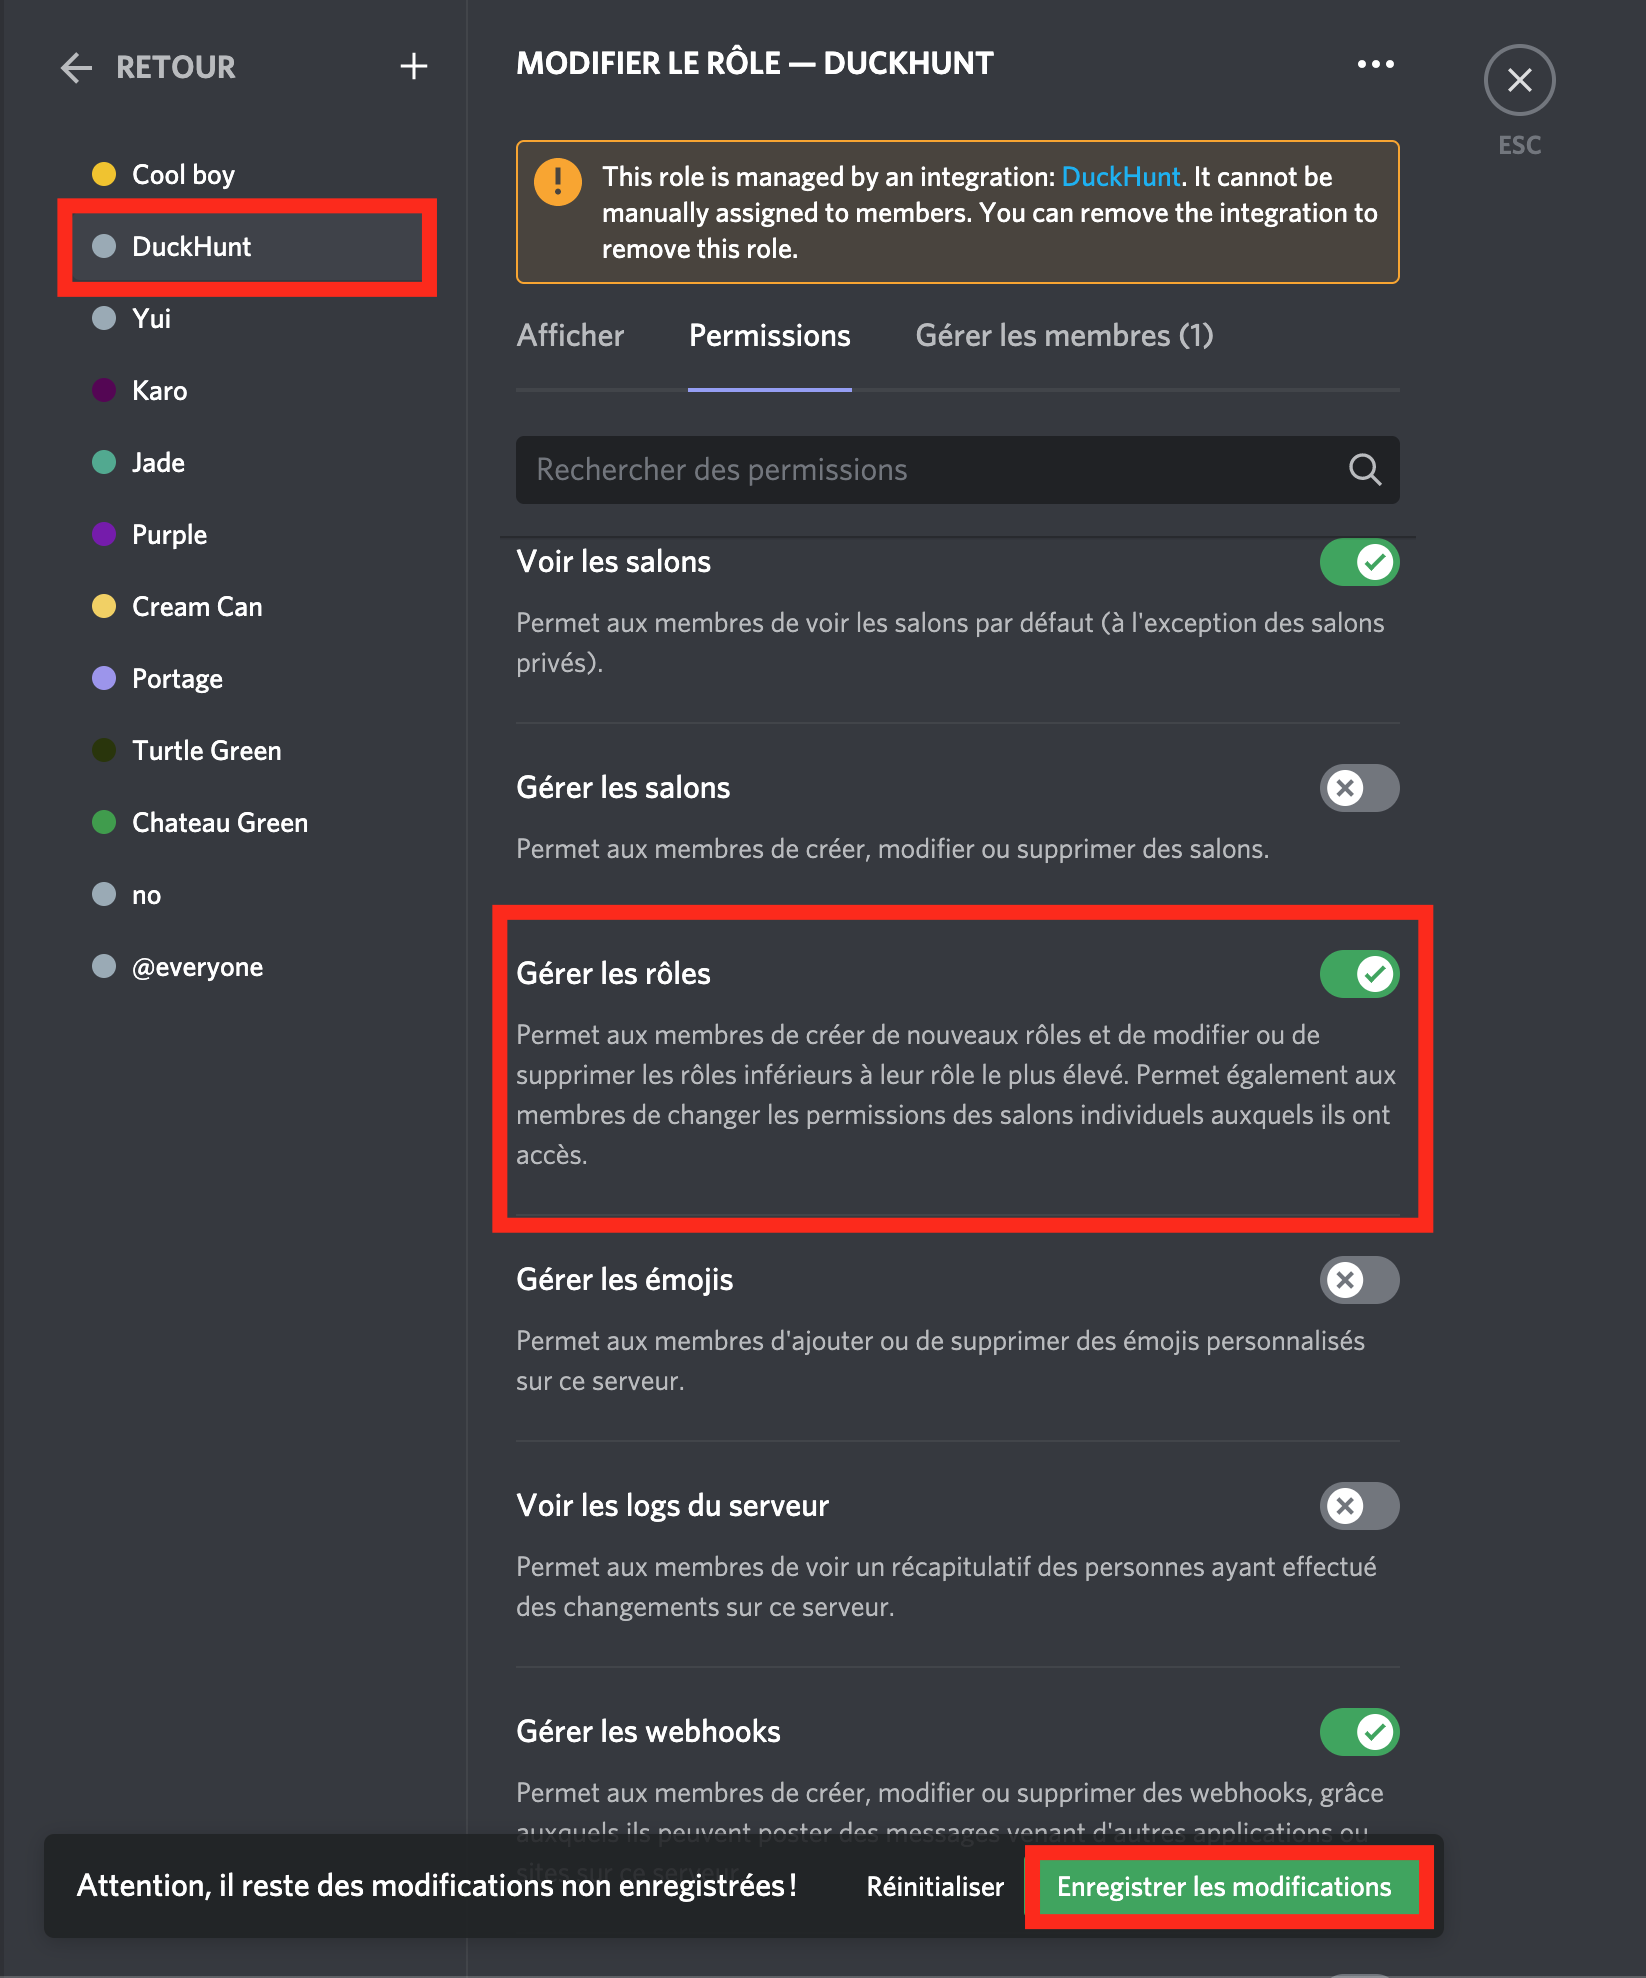
Don't forget to save before proceeding.
Create the roles
Now is the time for you to create the roles you want. Click the ➕ button at the top of the roles list, and add roles one by one, starting from the higher one.
PRO TIP: You'll probably want to add nice pastel colors to your roles. What you want here is a color gradiant, and you can find a tool that generates them here. Just input your starting and ending color, and copy the resulting #hex colors to add into Discord.
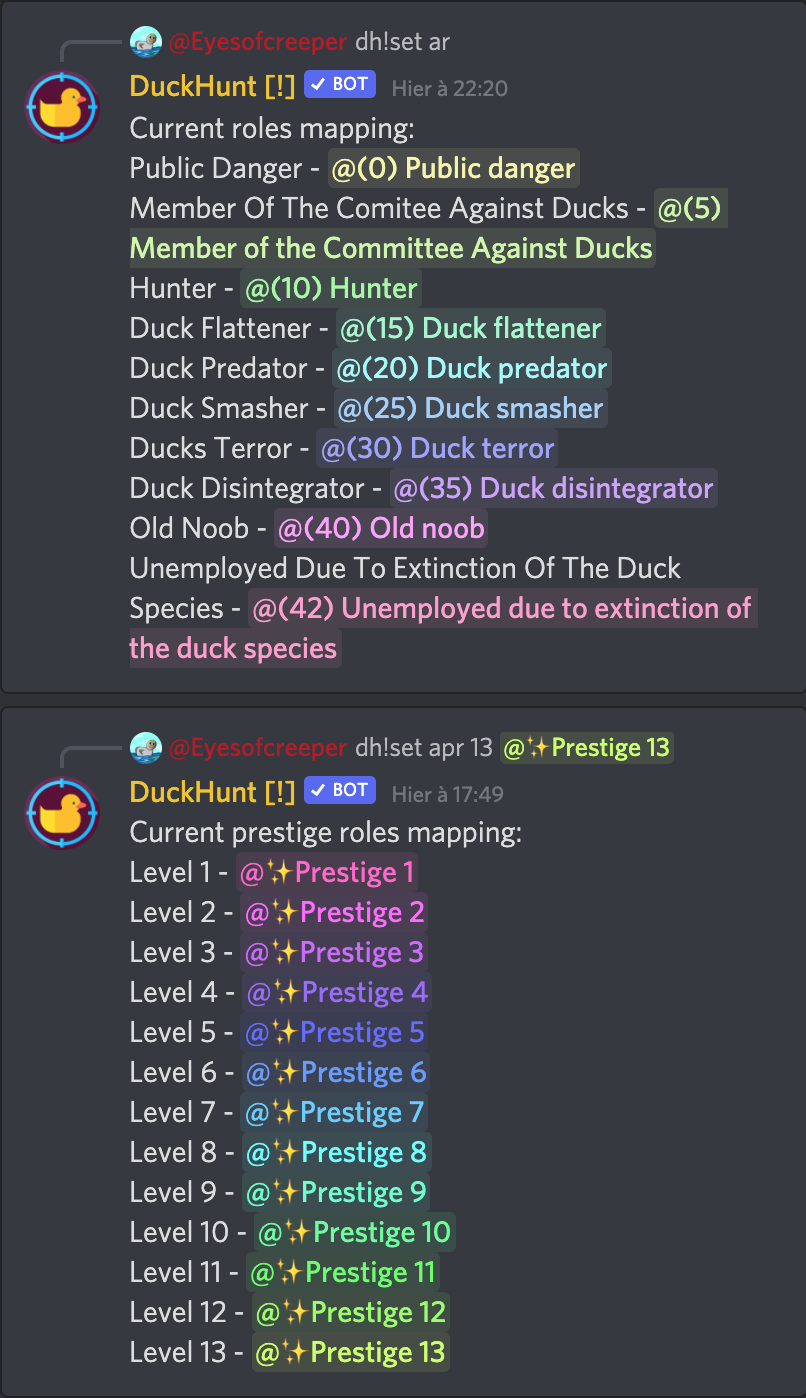
You can create roles for DuckHunt levels and/or roles for prestige levels. For reference, here's the configuration we use over in the DuckHunt server.
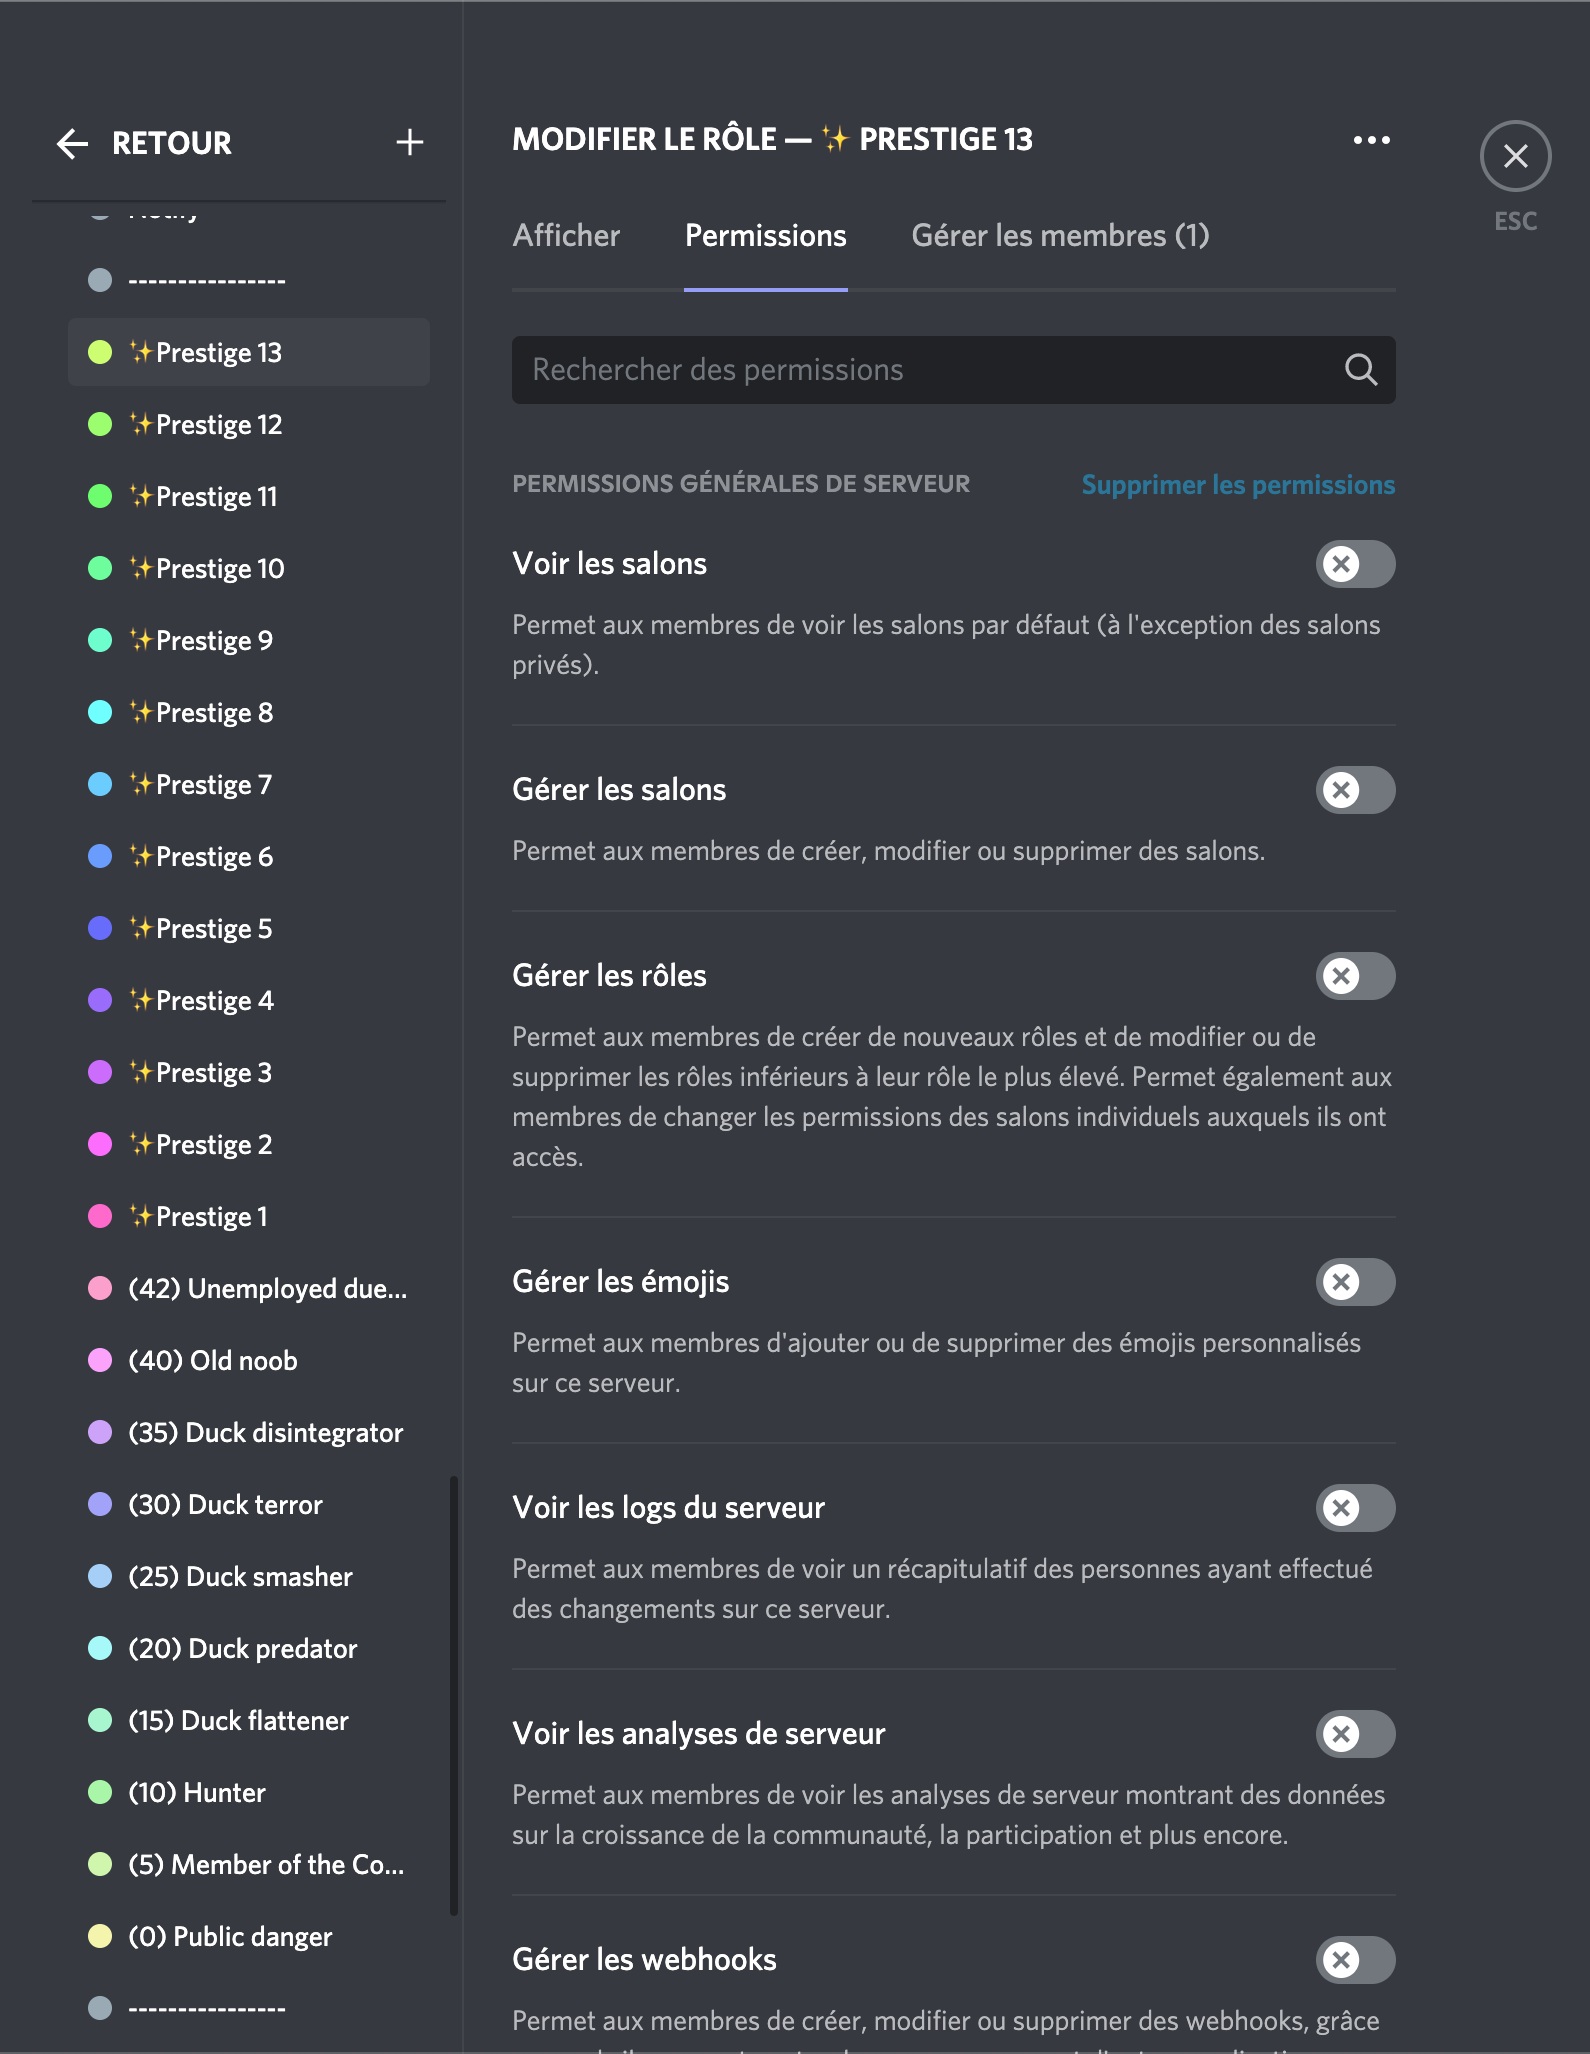
The bottom part are level roles, while the top part with all the ✨ are prestige roles. Note that you are free to choose the names, colors, and levels.
Since they will probably be cosmetic roles, you can delete the permissions by clicking the button in the permissions tab.
Assign the roles as levels
Now is time for setting up roles. In your game channel, use the following commands:
dh!settings auto_roles duckhunt_level @role
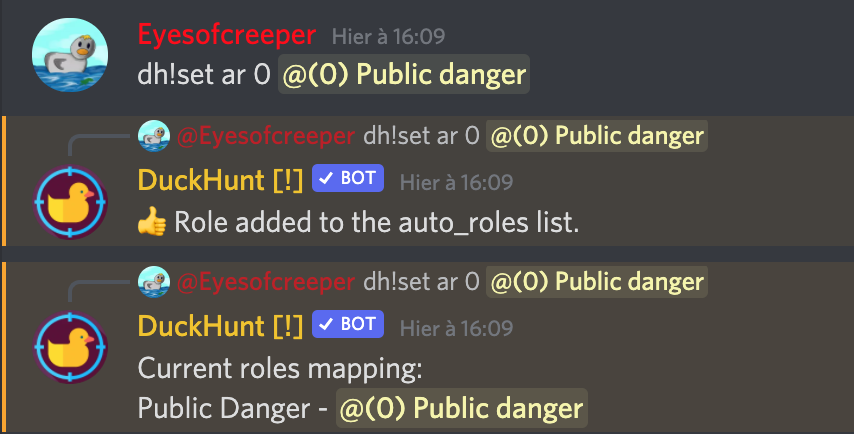
dh!settings auto_prestige_roles prestige_level @role
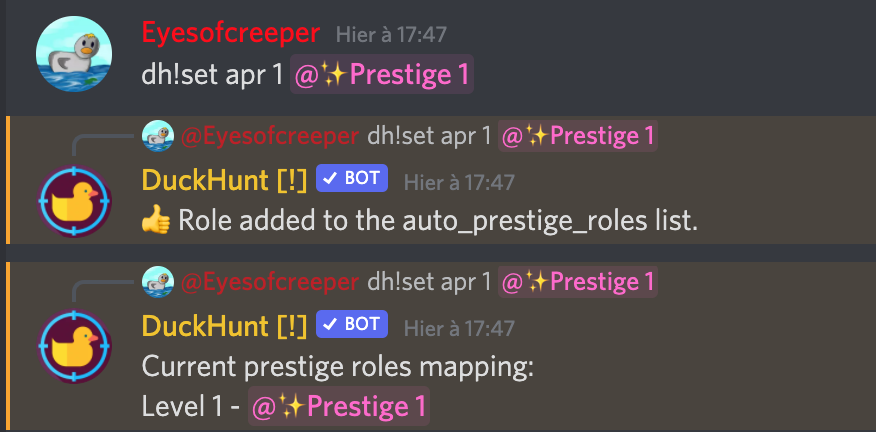
Here, on your first prestige level, you'll be given the pink ✨Prestige 1 role and from DuckHunt level 0 and above you'll be given the (0) Public danger role.
You'll need to add all of your roles. At the end, on the DuckHunt server, we can see the following:
